Thursday, January 30, 2014

Collage Wall

A project I recently completed was finishing a collage wall in our entryway.


A lot of people hanging collages lay everything out and precisely measure and nail everything in an exact location... I just eyeballed it and nailed away.


Here is the before photo for comparison.


First I laid everything out on the ground to consider the best arrangement of all the pieces.


 Then I started from the top with the first piece, which was a gift from my mother-in-law a few years ago.


 Next, I added the larger fame that I haven't put the artwork in.


 Then I added the ampersand that I recently got on sale at Hobby Lobby.


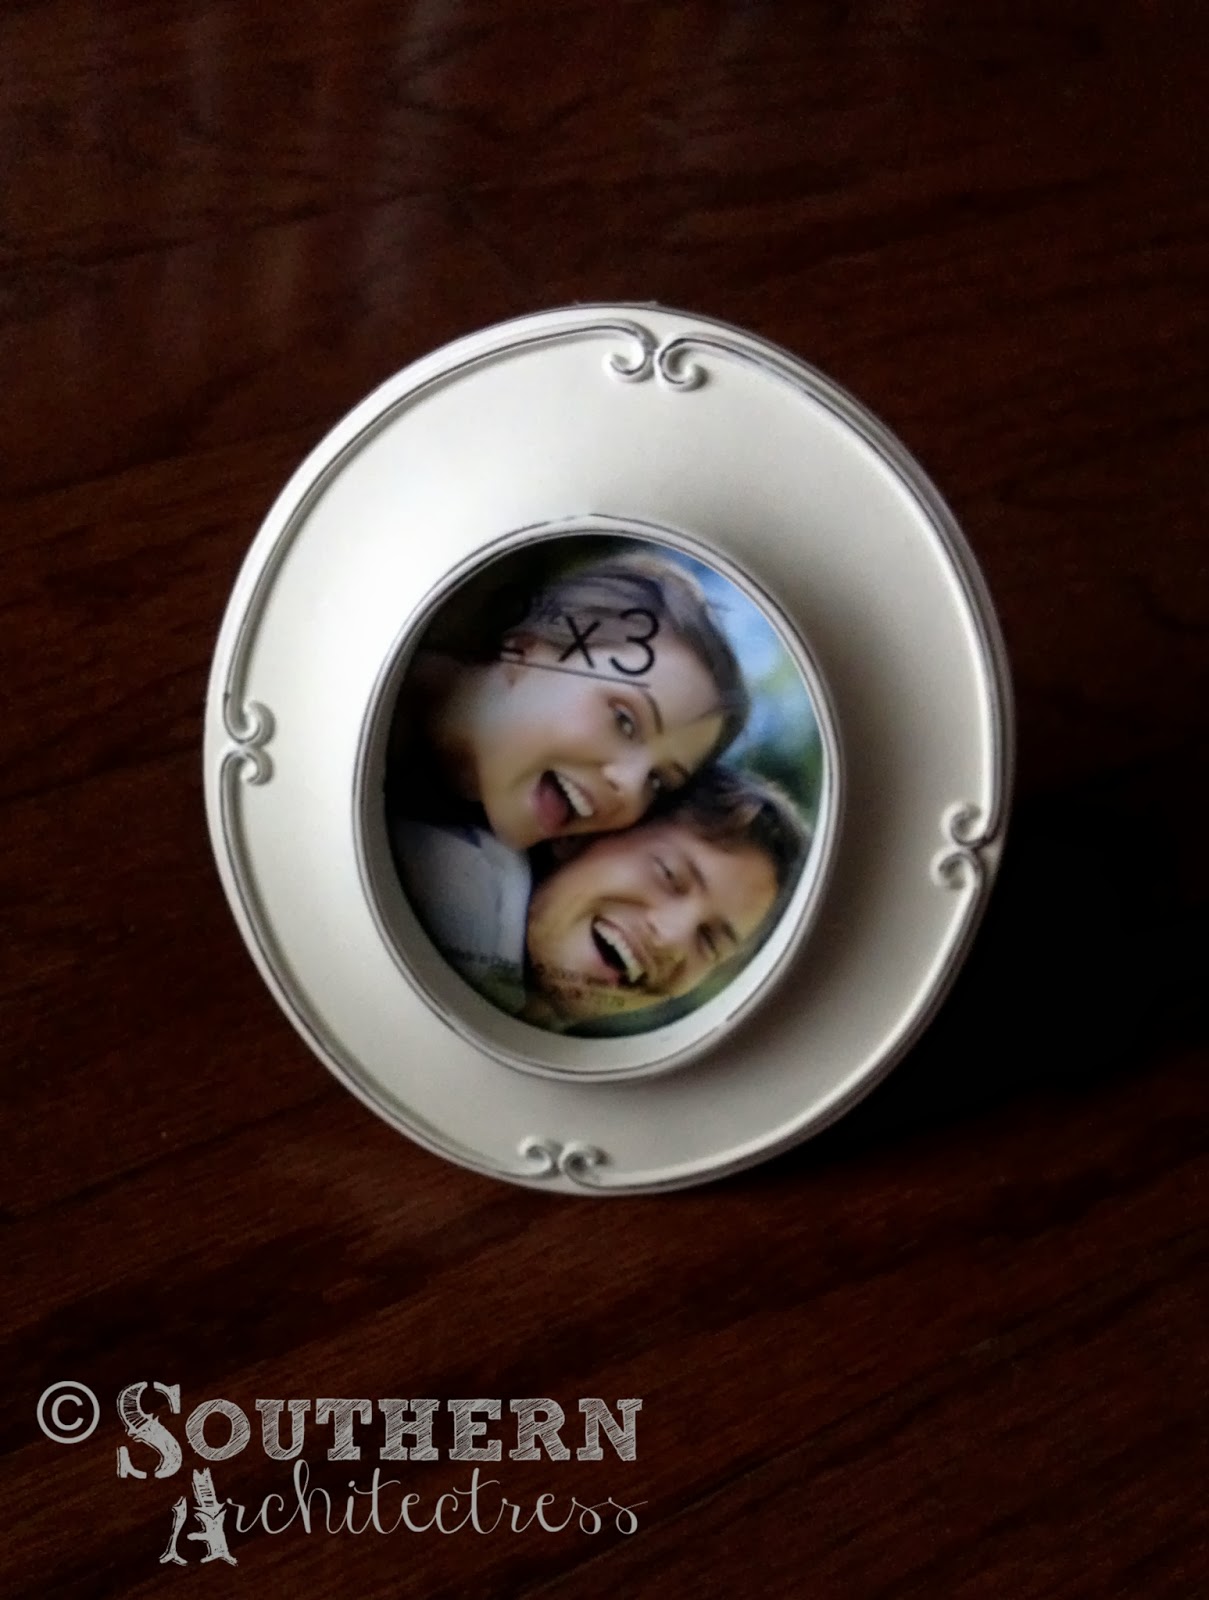
Next, I added two small frames with family photos to balance out the collage.


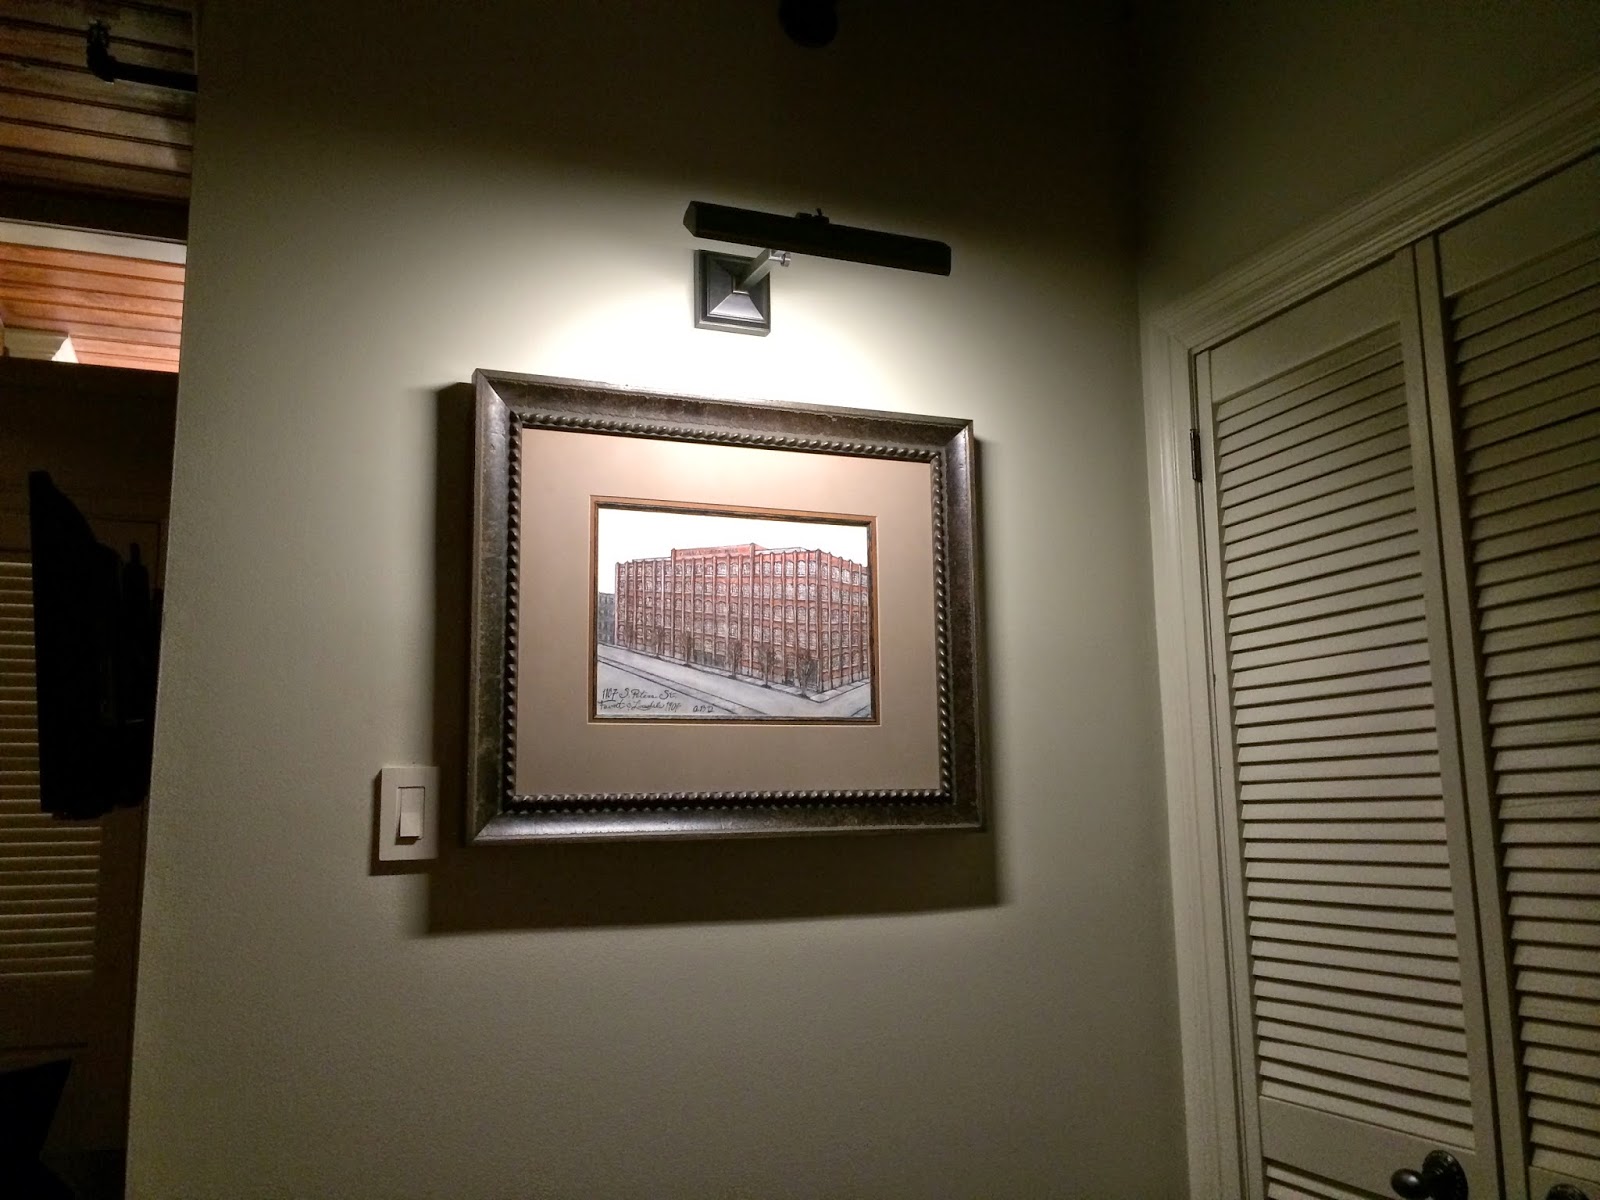
Then, I put a floor plan by A. Hayes Town in the large frame. For now it is just a placeholder. Eventually I plan to make some artwork with our home's floor plan, this will also give more color to the collage.


The final collage on the entryway wall is complete for now, but there is some room to add things in the future!


Linked up to The Turquoise Home

Linked up to Not Just A Housewife

Linked up to Tatertots and Jello

Tuesday, January 28, 2014

Craft Closet Organization

When I posted my bookcase revamp, I said that I had another project in mind for the previous bookshelves that I had. And I made significant improvement on that project, so I wanted to share it!

...Remember what the bookshelves used to look like in my office.

And now they have a happy home organizing my crafts in my office closet. They didn't move far... from one side of the office into the closet, but are much more useful!

This is what the office closet looked like before... What a wreck!!! Mr. Engineer has been on my case to clean out this closet. All my craft supplies, gift wrapping supplies, artwork, and old architecture projects. 


First, I emptied out the whole closet! It is so much easier to start with a blank slate.


Next, I put in the two bookshelves.


I started putting the crafts on the shelves, so that all my supplies are easily on hand.


 I added more things to the shelves and organized some things into storage bins.


This is so much of an improvement! It's not a completed project yet, but I made such significant improvement, I had to share! I do plan to implement some more organization ideas in the next few weeks.


Linked up to The Turquoise Home

Linked up to Not Just A Housewife

Linked up to i Heart Organizing

Linked up to Tatertots and Jello 

Monday, January 20, 2014

Architectural Charcoal Rendering - Federal Fibre Mills Warehouse

I was commissioned by my Uncle to do a charcoal rendering of his New Orleans condominium building. I was super excited at the chance to do this because I have hardly worked on hand drawings in the last couple years.

 He sent me a couple photos he took from his phone:


This is the Federal Fibre Mills Warehouse located 1107 S. Peters St., New Iberia, Louisiana. It it a beautiful structural brick building, and I found out some pretty interesting thing doing some research  into it's history. It was designed in 1904 by Favrot and Livaudals and was constructed in 1907. In 1984 it was used as a pavilion for the World's Fair. It was then converted into condominiums in 1985. This was the main project that officially launched the warehouse district into the area it is today. It is also on the National Register for Historic Places.


After getting a feel for the building's past I got started on the rendering:


I choose watercolor paper.  I used it because of its heavy weight and its texture could give some additional dimension.


I started by taping off the area I want to work within. He gave me the dimension of 15-1/2 inches by 11-1/2 inches, so it would be the same size as some of the other artwork he had already choosen.


Next I used vine charcoal and a ruler to do a basic layout of the area. I made sure my vanishing points were right. I choose a perspective looking down the street, which gives the building more character than a front view.


Then, I added more detail with the vine charcoal.


Next, I picked up some black conte' and started retracing lines and adding more detail.


 Here you can see my work area with all my tools. I work the best in natural light and kneeling on the floor over my drawing.


Then, I wanted to add some color to give more life to the building. So, I picked up some siena conte' and started adding texture to the brick.


Next, I used white conte and more black conte to give some highlights and shadows.


 Finally, I added in the final touches of the trees, sky and street, and the background building.


It made me so happy when I peeled back the tape to reveal the crisp line underneath.


 I added the street address, architects' names, and the year is was build next to my signature. For the font, I took inspirtaion from Jellyka Saint Andrews Queen.


I love the way it turned out...


... and I have a happy client!


This is a photo my Uncle sent me of the artwork will end up hanging in his condo.


Linked up to The Turquoise Home

Linked up to Not Just a Housewife


Saturday, January 11, 2014

DIY Ring Holder Frame


A few months ago I made a ring holder for myself. I made it from a frame with the glass removed, some wrapping paper and a pin, hang any ring as a work of art so it won't be misplaced!  I got the idea from here.  


Mr. Engineer had been borrowing it to put his ring on...


...so I decided to make one just for him!


I included the steps how to make one:
All you need is a frame, a pin, a scrap piece of cardboard and a scrap piece of decorative paper.


 I started with a simple frame from Hobby Lobby.


Then, I took out the glass and stock photo.


Next, I used the stock photo as a template to cut out a piece of cardboard and a piece of decorative paper.


Then, I inserted a pin through the decorative paper and into the cardboard.


 This makes a perfect place to hook his ring.


And now I get my ring holder back!


So now we have his and hers wedding ring holders!


It is also super cute for any other rings!


Linked up to The Turquoise Home

Linked up to Not Just A Housewife


Wednesday, January 1, 2014

New Years Resolution

To celebrate the New Year, I wanted share my Resolutions!
I wanted to set specific goals for this year that will target three different areas to create more balance in my life. I want to pick a goal for my mind, body and soul.

Mind:
I really need to get into gear and start studying again for the AREs... last year I had a little setback when I failed on my first try. So to do this I want to start a study group in order to set a study schedule and stick with it. The goal is to pass an ARE and possibly multiple ones this year.

Body:
I really want to set a goal to exercise more often to have more energy and feel better. I also wanted to have a solid goal of running 4K.

Soul:
I want to devote more time to my sold by using my prayer journal everyday.


Since we have moved in our home, it has been the tradition to have a pajama party with our neighbors on New Years Day! I have had the reputation for making mimosas. So to ring in the New Year I am sharing the simple recipe I use! They are super yummy and easy to make: 3  parts orange juice, 2 parts champagne and 1 part grenadine and garnish with orange slice and blackberry.


Linked to My Repurposed Life